Open the exact family listing to compare the live price, availability, delivery, seller, and returns.
Choose horizontal rack cable management by rack width, rack units, ring or finger depth, patch-cord count, side exit, bend radius, cover access, and future moves.
Prepared by the Signalwise Picks editorial deskUpdated August 11, 2026
Quick answer
The practical answer
Use D-rings for flexible front routing, finger duct when dense cords need separated paths, a brush panel mainly for pass-through between rack zones, and a lacing bar for rear strain relief. Confirm 19-inch fit, available rack units, usable depth, side clearance, and cable bend radius. The right choice is the smallest manager that keeps ports visible and lets one cord move without disturbing the bundle.
Common buying question
Should I buy a D-ring, finger-duct, brush, or lacing-bar cable manager for a 19-inch home network rack?
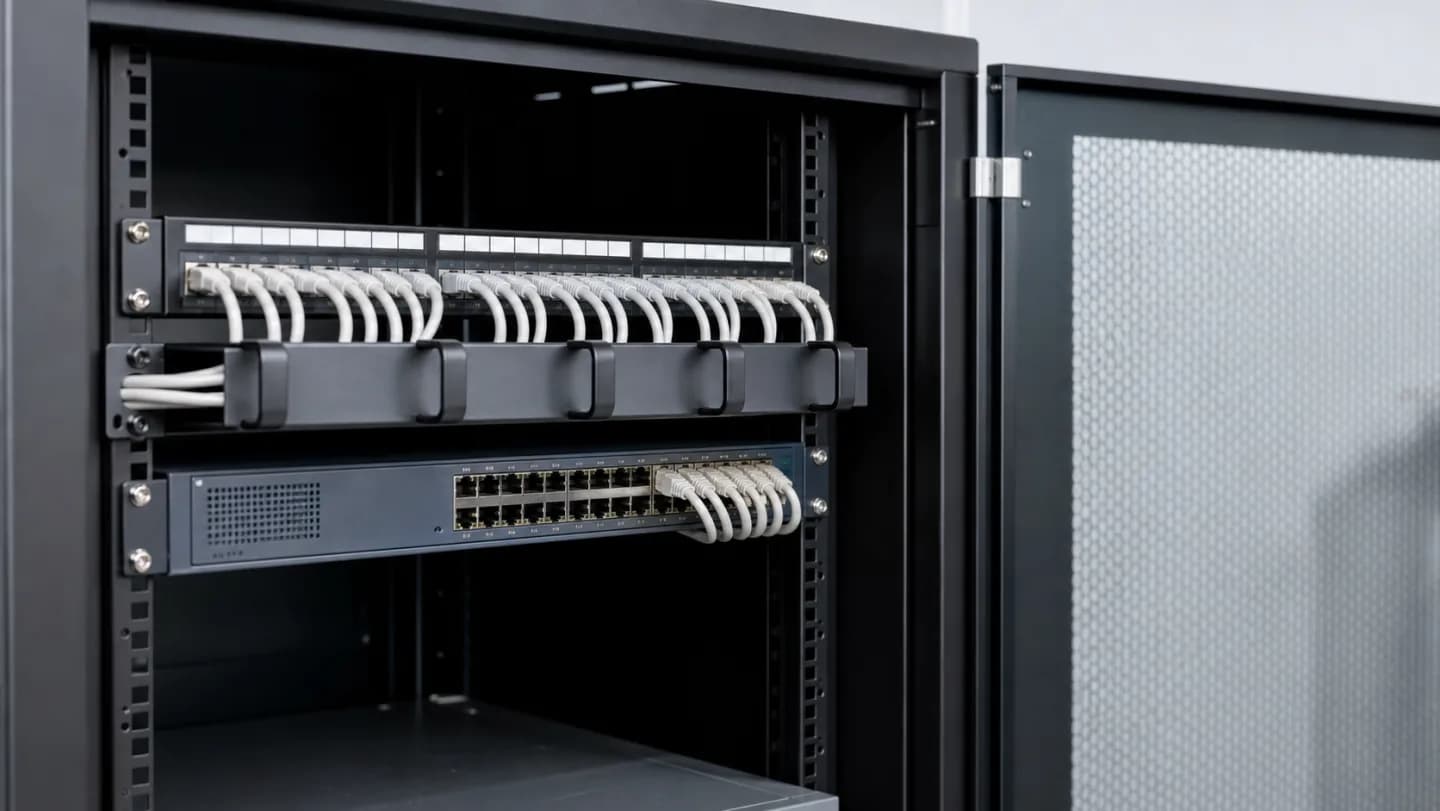
Original editorial image for category, fit, and use context; verify the exact linked product appearance and configuration on the retailer page.
Choose the manager by movement pattern
D-rings leave patch cords visible and easy to lift out, while finger duct organizes denser runs behind a cover. Brush panels move cables through a rack plane but provide little horizontal support on their own. Rear lacing bars carry weight and preserve connector strain relief. A rack may use more than one style because these jobs are different.
Reserve space before the rack is full
A 1U manager between a patch panel and switch can make service easier but consumes valuable height. Model the complete RU order, power separation, uplinks, ventilation, and planned expansion. In a small wall cabinet, using short patch cords and side vertical rings may preserve more usable space than inserting a manager after every active device.
Size rings from real cable volume
Count current patch cords, uplinks, and an honest growth allowance, then consider cable outside diameter. Twenty-four slim cords occupy less volume than bulky shielded leads. Avoid packing every ring to its limit: the bundle should move without scraping, crushing, or sharply bending the outer cords, and labels should stay readable.
Protect connectors and equipment access
Route cords so plug latches, port indicators, fans, console ports, and rack screws remain accessible. Keep bend radius near connectors and avoid using the manager as a tension point. Check front-door depth with the largest plug boot installed. Rear slack needs separate support so cable weight does not hang from patch-panel or switch jacks.
Design for the next change
Use consistent left and right paths, label both ends, separate service loops from active runs, and document cross-connects. A visually perfect bundle that must be cut apart for one change is not maintainable. After installation, move one representative cord from each row; if that disrupts neighbors, reduce fill or change the routing pattern.
Current Amazon option
Check this exact product
StarTech 1U 19in Rack Cable Management Panel, D-Ring, Metal (CABLMANAGER2) | Horizontal or vertical wire manager, 3in ABS plastic hooks spaced 4in, Fits 2 or 4-post racks
ASIN
B00066HS4O
Brand
StarTech.com
Listing checked
8/11/2026
Compare the current title, ASIN, variant, seller, stock, shipping, price, and return path before ordering.
Exact US listing reference. Confirm the selected variation, seller, included parts, live availability, and any applicable recall notice before buying.
Public owner context
Questions to answer before buying
Community discussions help surface installation, fit, maintenance, and failure questions. They are anecdotal context, not product specifications or a substitute for current instructions.
Used to locate real owner questions and failure reports that shape the inspection checklist. Anecdotes are not presented as measured product tests or copied as endorsements.
Research notes
How we evaluated these choices
1.Photograph the rack front and rear, then draw every patch-cord entry and exit around the intended RU position.
2.Count actual cords and measure their outside diameter rather than relying on a port count alone.
3.Mock the largest bend and front-door swing with one real cable before mounting the panel.
4.Install labels and slack so one cord can be replaced without pulling unrelated connectors or blocking indicators.